Before we begin, you may have installed Unity Hub instead of a single installation of Unity. For our purposes, there is not difference in the way we will create a new project. Unity Hub has some great additional features that will be discussed later.
For now, click on the Unity icon to get started.
The Unity Hub

Unity will go through its startup sequence and you will see a screen similar to the one above. You will need to change three of the fields:
- 1) Project Name – Change this to “The Cage” (no quotes)
- 2) Template – Change this to 2D
- 3) Location – Change this to a folder on your local drive.*
* You can use a network drive to store your projects, but it will take longer for Visual Studio to update the scripts in Unity. If you do use a local drive, be sure to back up your work daily as some systems clear out local drives each night.
Do not change the Organization Field.Click the button labeled Create Project.
The Unity Workspace

After clicking on Create Project, the Unity workspace will appear. Unity has a very flexible interface, so what you see may not look exactly like the image above, but we will fix that next by setting our workspace layout to Default.
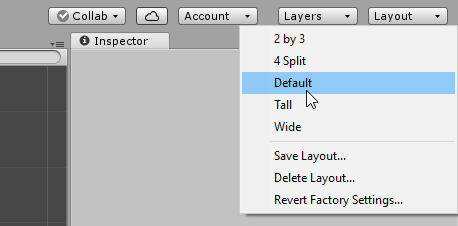
Click on the button in the top-right titles Layout, and choose Default from the drop-down menu.
Now that we have the default layout, let’s examine the Unity interface.
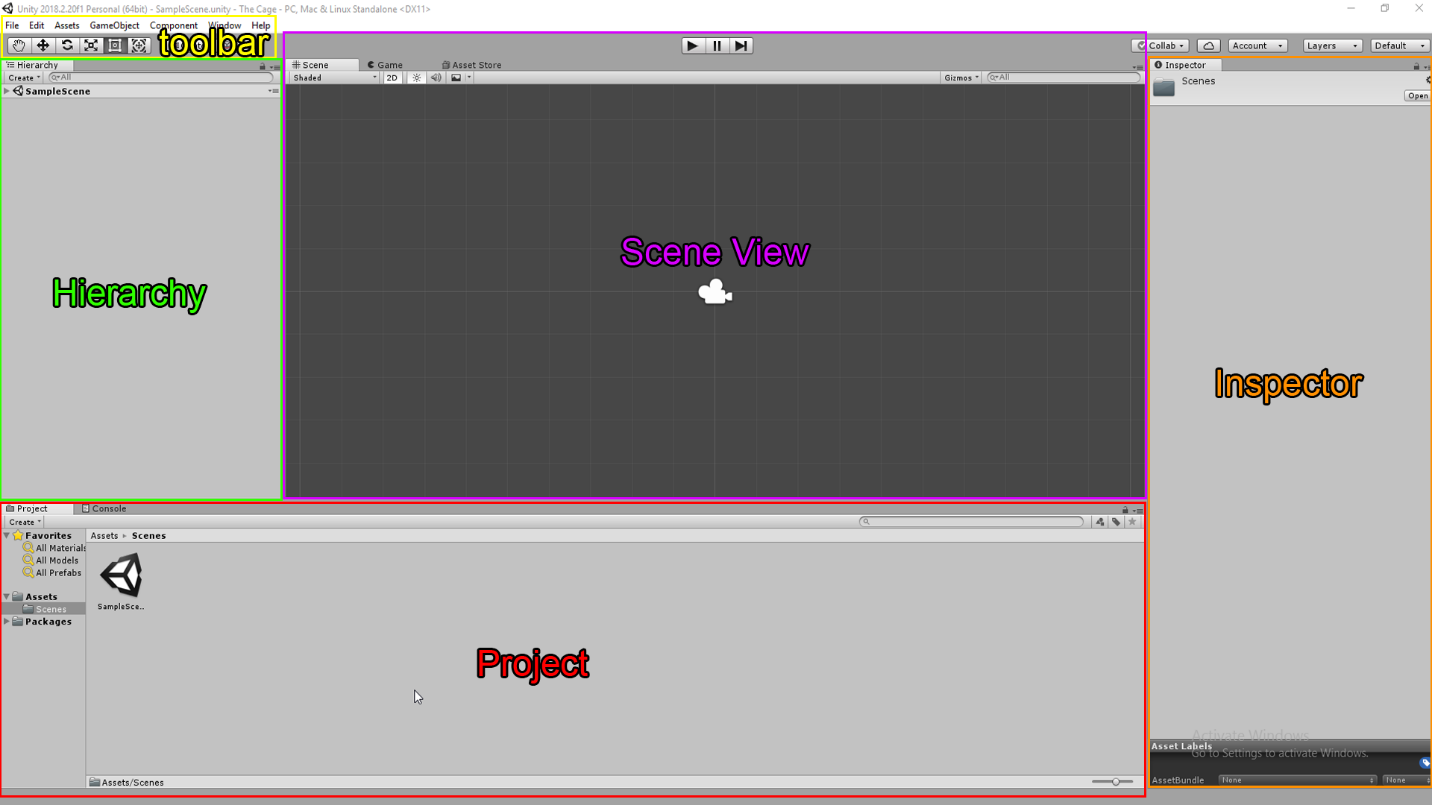
The Unity interface is divided into 5 main sections or panels:
-
Toolbar
The toolbar contains the various manipulator tools that we will use to move objects and pan around the Scene View. From left to right, they are the Pan, Move, Rotate, Scale, and Multi-Tool.
-
Hierarchy
The hierarchy panel shows all of the object currently in our scene. You can see that Unity has created a default scene called Sample Scene.
-
Project
The Project panel shows all of the assets available in our project. The Assets folder mirrors how the files are stored with our project. If you create a folder within Assets called Sprites, a new folder will be created in the project files stored with the current project.
-
Scene View
The scene view is where we will place and move the objects so they appear where we want them to when the game starts.
-
Inspector
The inspector panel contains all of the editable attributes of the currently selected object in the Hierarchy or Scene View panels.
Building Our First Scene
The first thing we will do is change the name of Sample Scene to something more meaningful for our game. There are several places we can access the current scene, but we will work in the Hierarchy panel for now.
Right-Click on Sample Scene, and choose Rename. Change the scene name to The Cage
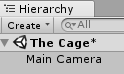
You will notice an asterisk next to the scene name. This is telling us that we have unsaved changes in our scene.
Go to the file menu at the top and choose File -> Save Scene, or press CTRL-S (CMD-S on Mac) to save the scene.
We are going to create our first game asset, but first we will start developing the habit of organizing our game assets.
Pro Tip: Organization is essential even in small game projects. It is vital that you develop good habits right away by organizing files in your project panel.
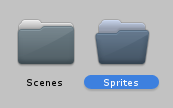
In the Project panel Double-Click on the Assets folder to open it.
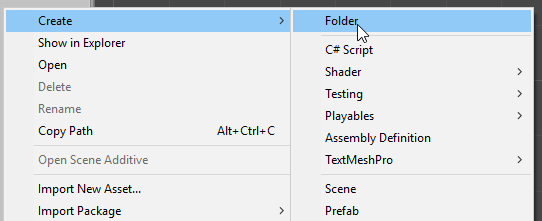 Right-Click and choose Create->Folder
You will see a new folder appear prompting you for a name.
Type in Sprites and press ENTER.
Now Double-Click on the Sprites folder to open it.
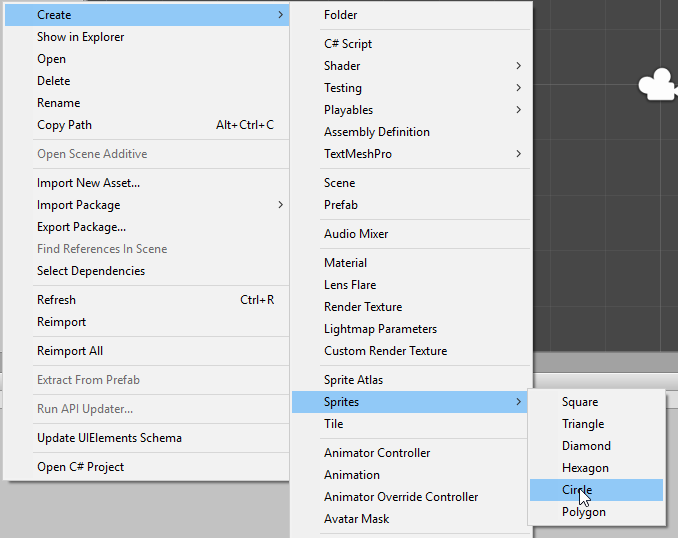
Right-Click anywhere in the Sprites folder and choose Create->Sprites->Circle.
A new Sprite will appear in the Sprites folder, prompting you for a name.
Type in Ball_1 and press ENTER.
We have successfully created a new sprite, and added it to our project, but it is not yet in our scene.
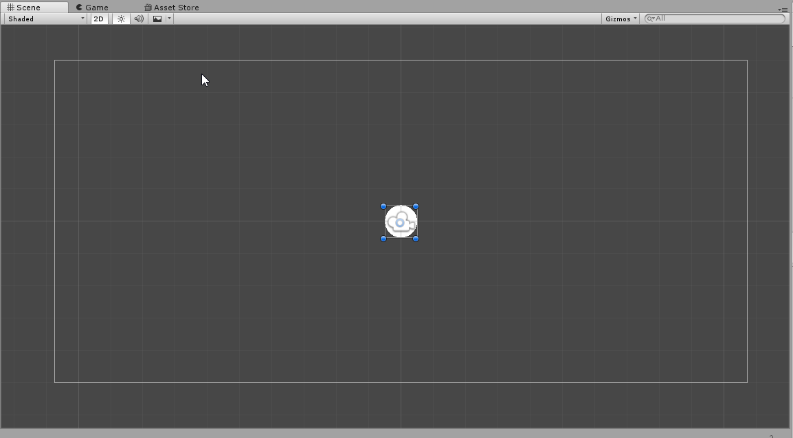
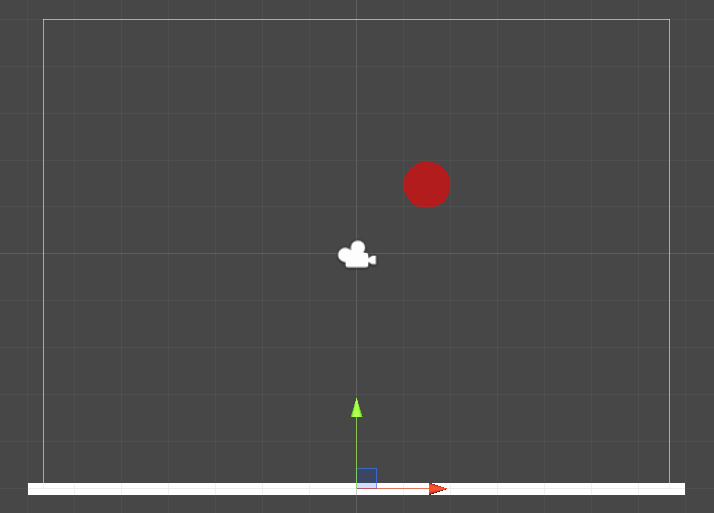
To add it to the scene, drag the sprite from the Project panel into the Scene View. A white circle shaped sprite will now appear in the scene view and the Hierarchy panel.
To see our progress so far, let’s play the game (such as it is). At the top of the Scene View are the Play/Pause/Step buttons.
Press the Play button. Unity will switch from Scene View to Game View.
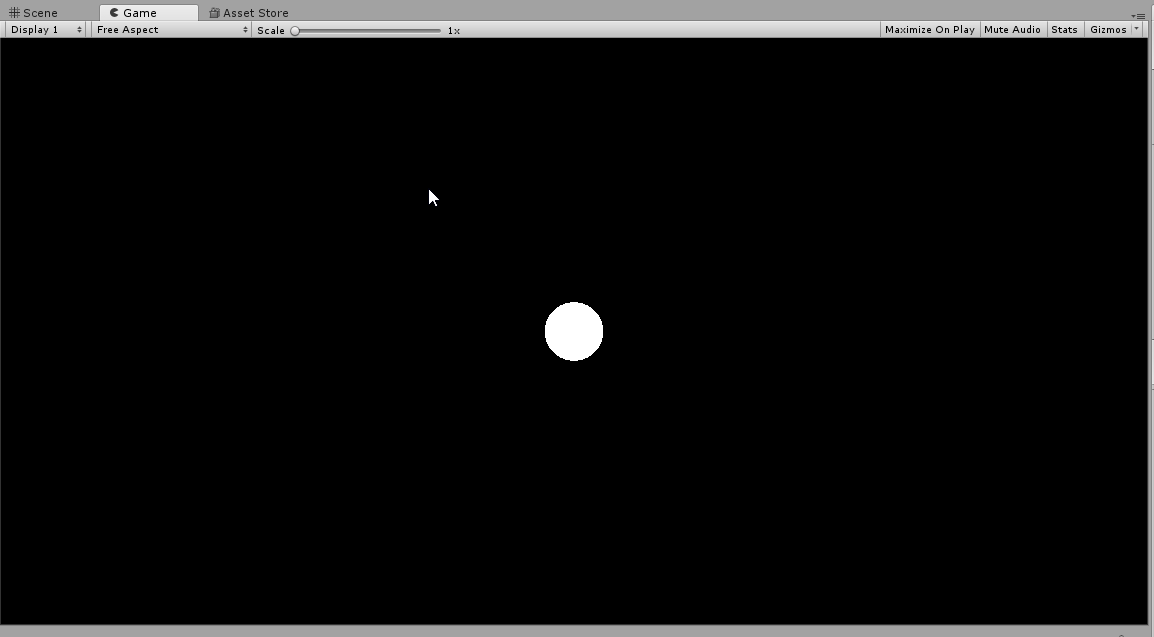
The default background color in Unity is a dark blue, so your background may be a different color than show above. Don’t worry about for now. This is primarily personal preference.
Click the Play Button again to stop the game.
One thing that we do need to consider right now is the aspect ratio of our game. By default, Unity sets the aspect ratio to 16:9, or widescreen format. This makes sense as most monitors and mobile devices use this aspect ratio. However, we are making something that looks more like a classic arcade game which would have displayed on a 4:3 ratio monitor. In the spirit of classic games, let’s change our aspect ratio to 4:3.
Click on the Game tab at the top of the Scene View.
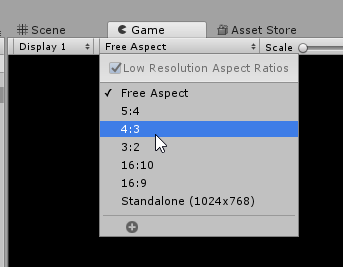
You will see a dropdown menu that currently states Free Aspect.
Choose 4:3 on the dropdown menu.
The Inspector Panel
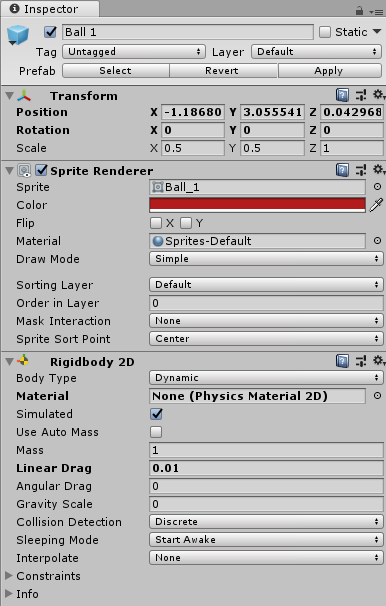
Now that we have our aspectratio fixed and a sprite added to the scene, it’s time to take a closer look at the Inspector panel. As stated above, the Inspector panel contains all of the editable attributes of any selected game object. Let’s start by taking a look at our Ball_1 sprite.
Click on Ball_1 in the Hierarchy or Scene View panels. The Inspector panel will change to show all of hte editable attributes of Ball_1.
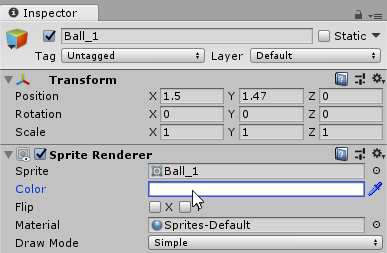
Everything we add to our unity project is a game object. At its most basic, a game object has position, rotation, and scale. We can add components to game objects that allow them to fulfill specific roles. The most common is the sprite component that allows the object to be seen during the game. In the next section, we will add a physics component.
We’re going to start by changing the color of our ball to something more interesting than white.
Click on the color box next to the Color attribute. The color chooser will appear.
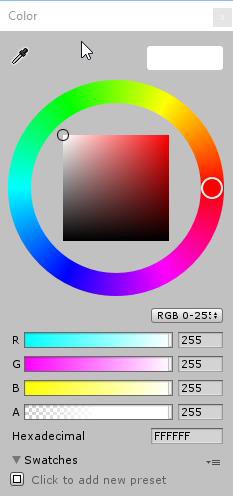
Choose a color you like. We will use a bright red.
Click on the X at the top-right of the color chooser to close it.
We now have a game window with a ball sprite in it, but it’s not doing much yet. Next step – adding physics.

Adding Components to a Game Object
Click on the Ball object in the Hierarchy or the Scene View.
In the Inspector panel, you will see the attributes of the sprite. At the bottom of the panel, you will see a button labeled Add Component.
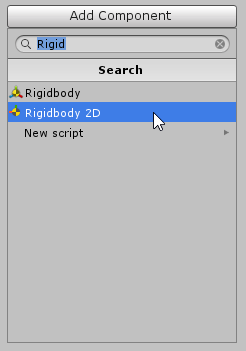
Click on Add Component and a panel will appear.
In the text box at the top, type in Rigid. As you type, you will see options appearing in the Search list below. We want the component called RigidBody 2D.
Do NOT choose RigidBody. RigidBody is a 3D component and will not interact with RigidBody 2D components.
Click on RigidBody 2D.
You will see more information added to the Inspector panel.
Click on the Play Button above the Scene View and see what happens.
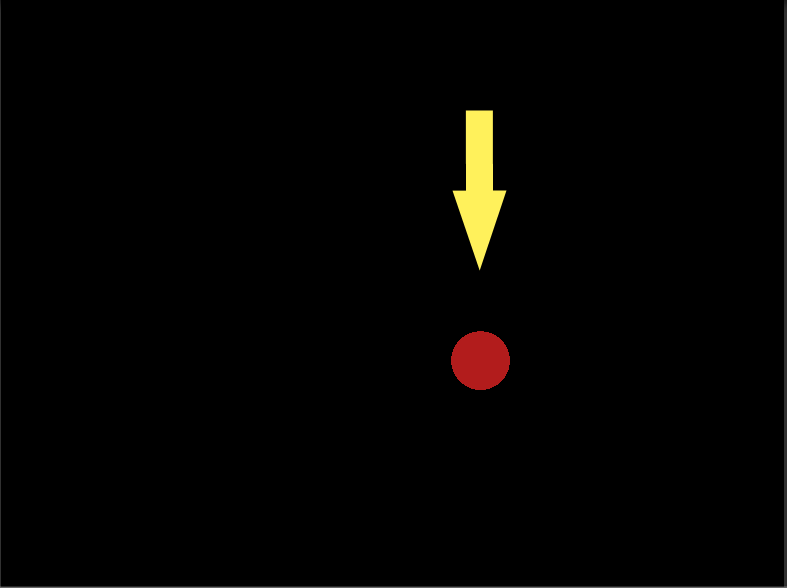
Notice that the ball falls straight down and off the screen.
Two things are happening here. The ball is now under the influence of gravity and there’s nothing to stop it from falling through the bottom of the screen.
We’ll deal with gravity later. For now, let’s add another object for the ball to interact with.
Open the Sprites folder in the Project panel.
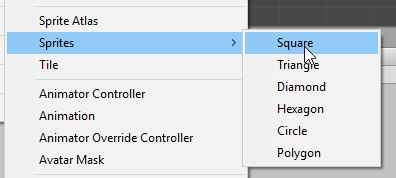
Right-Click and choose Create->Sprite->Square.
Name the square sprite Wall.
Now we're going to set the position and scale through the Inspector panel. Make sure Wall is selected and enter the following values in the position and scale fields in the object's transform:
- Position X: 0
- Position Y: -5
- Scale X: 14
- Scale Y: 0.25
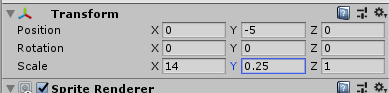
Wall is now more of a floor.
Change the color of Wall to something that will contrast with the ball. For this example, we will use dark green.
Press the Play button again. Notice that the ball falls right through the wall.
The Ball and Wall cannot interact yet because we have not told the engine that they should collide with one another. We will do this by adding a Box Collider 2D to Wall and a Circle Collider 2D to Ball. As with the RigidBodies, there are two types of colliders. Make sure you choose the 2D versions throughout this project and course.
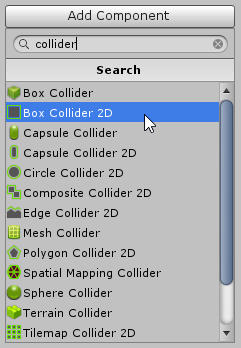
With Wall still selected, choose Add Component from the Inspector panel.
In the text field, type in collider. As with the RigidBody, a list will appear once you start typing.
Choose Box Collider 2D.
If you zoom in to see the Wall very closely, you will notice a bright green line around the perimeter of the sprite. This is the collider.
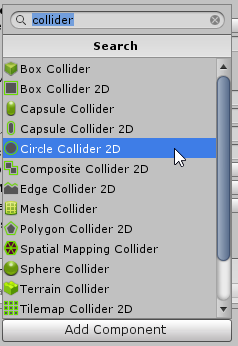
Now select Ball from the Hierarchy and click Add Component in the Inspector. You will notice that the collider list appears immediately. This is because that was the last thing we searched for.
Choose Circle Collider 2D.
If you zoom in on the Ball sprite, you will see that it too has a bright green outline indicating that we have added a collider.
Both of our objects now have collision.
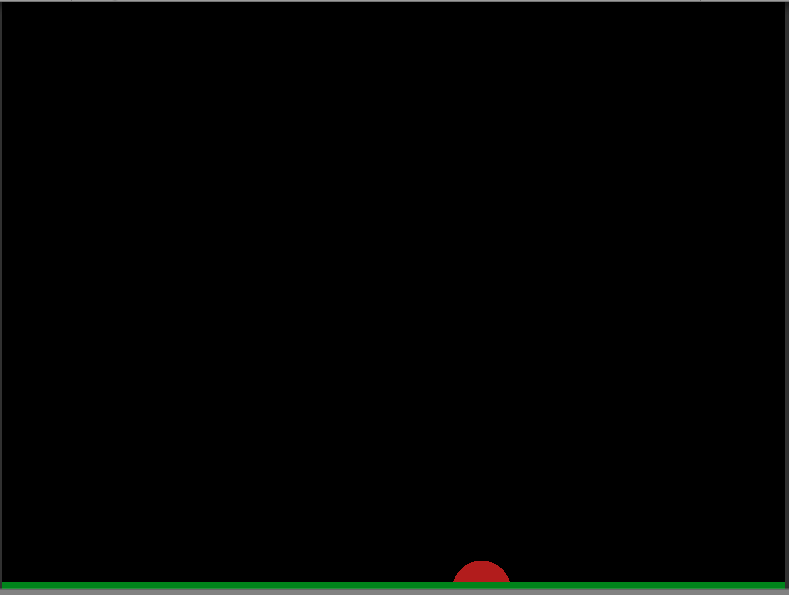
Click on the Play button again and see what happens.
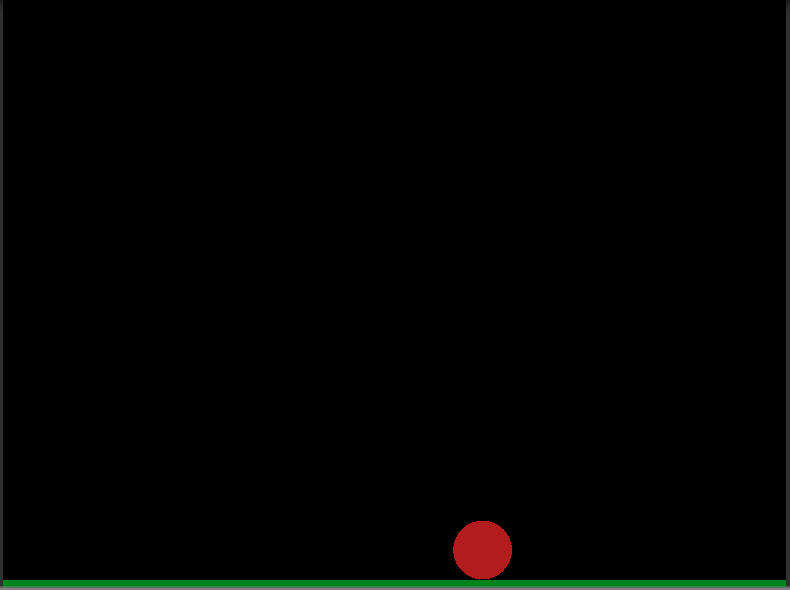
You should see the ball drop, collider with the wall, and stop. If you do not, check that you have added collisions to the correct objects.